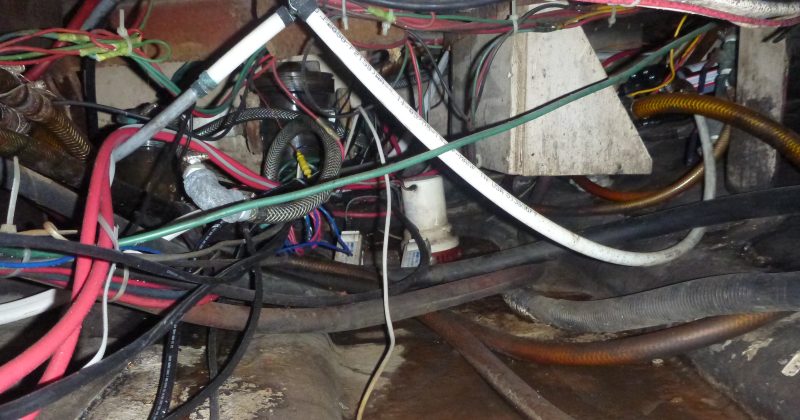

Our boats are filled with hoses, but what do we really know about all these rubber and vinyl tubes running around inside our boats? Some keep water out of the boat, and some keep water in; some keep our motors running cool and happy, while others remove things we would rather not have to talk about. Hoses are an integral part of almost all boats, and eventually, like everything else on a boat, the hoses will need maintenance. Hoses, hose clamps, and other plumbing fittings do not last forever; they all need maintenance or replacement at some point.
Most of the time the hoses hidden in the depths of our boats do just what they are supposed to: move fluids from one place to another, but now and then they fail, and often in most unpleasant ways. Failing hoses can be nothing more than a nuisance or as serious as sinking a boat. Maintaining your boat’s hoses can be a critical part of boat maintenance. Inspecting and servicing or replacing hoses can prevent problems before they happen. One hose manufacturer stated that hoses should be replaced every five years. Although most will last much longer than this, it points out that hoses need periodic servicing.
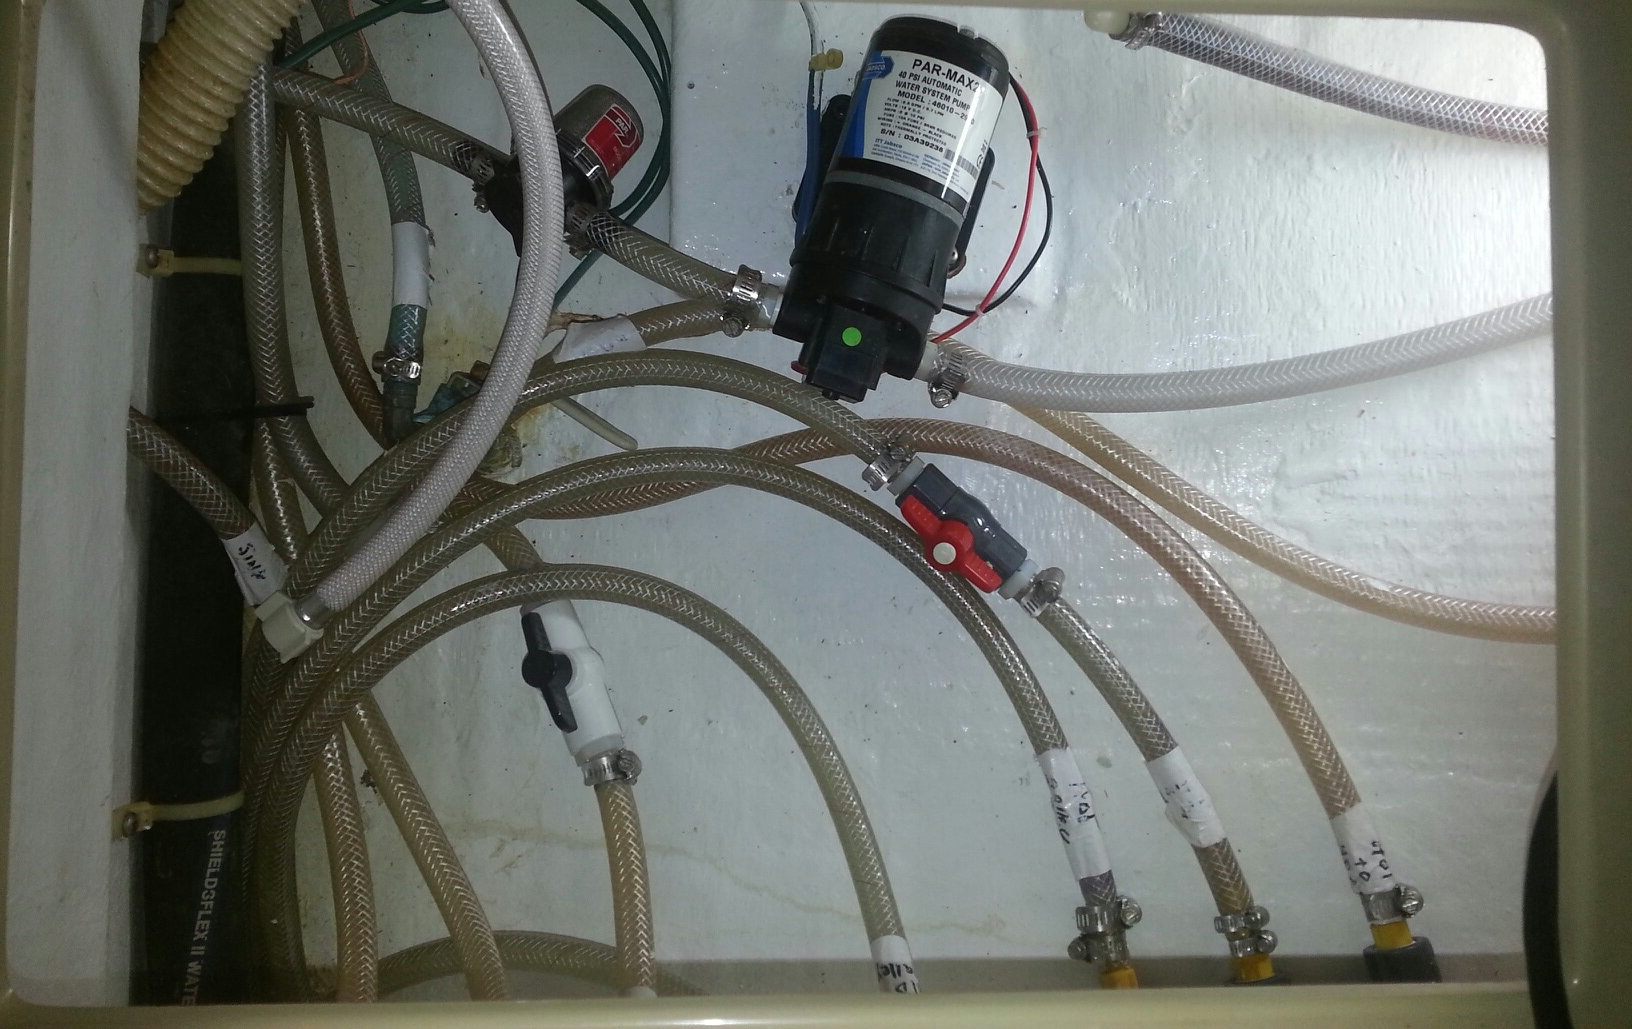
To avoid problems, owners should do regular inspections of all the hoses in their boats, paying particular attention to those connected to below-waterline fittings. As a surveyor, it is my job to inspect hoses for problems as I go about my inspections. It often surprises me just what I find. I frequently see critical hoses that are on the verge of failure, just waiting to let go at the worst time. The vessel owner is usually completely unaware of these ticking time bombs in their bilge.
Inspecting hoses for problems is not a chore most people like to do, as it usually requires crawling around in the deep, dark recesses of the bilges where no man (or woman) was meant to go. That said, it is an important job that should be done at least once a year to avoid problems. If you are not physically able to do this chore, because let’s face it, it often requires a contortionist to get into all the spaces you should, consider hiring someone to do it for you.
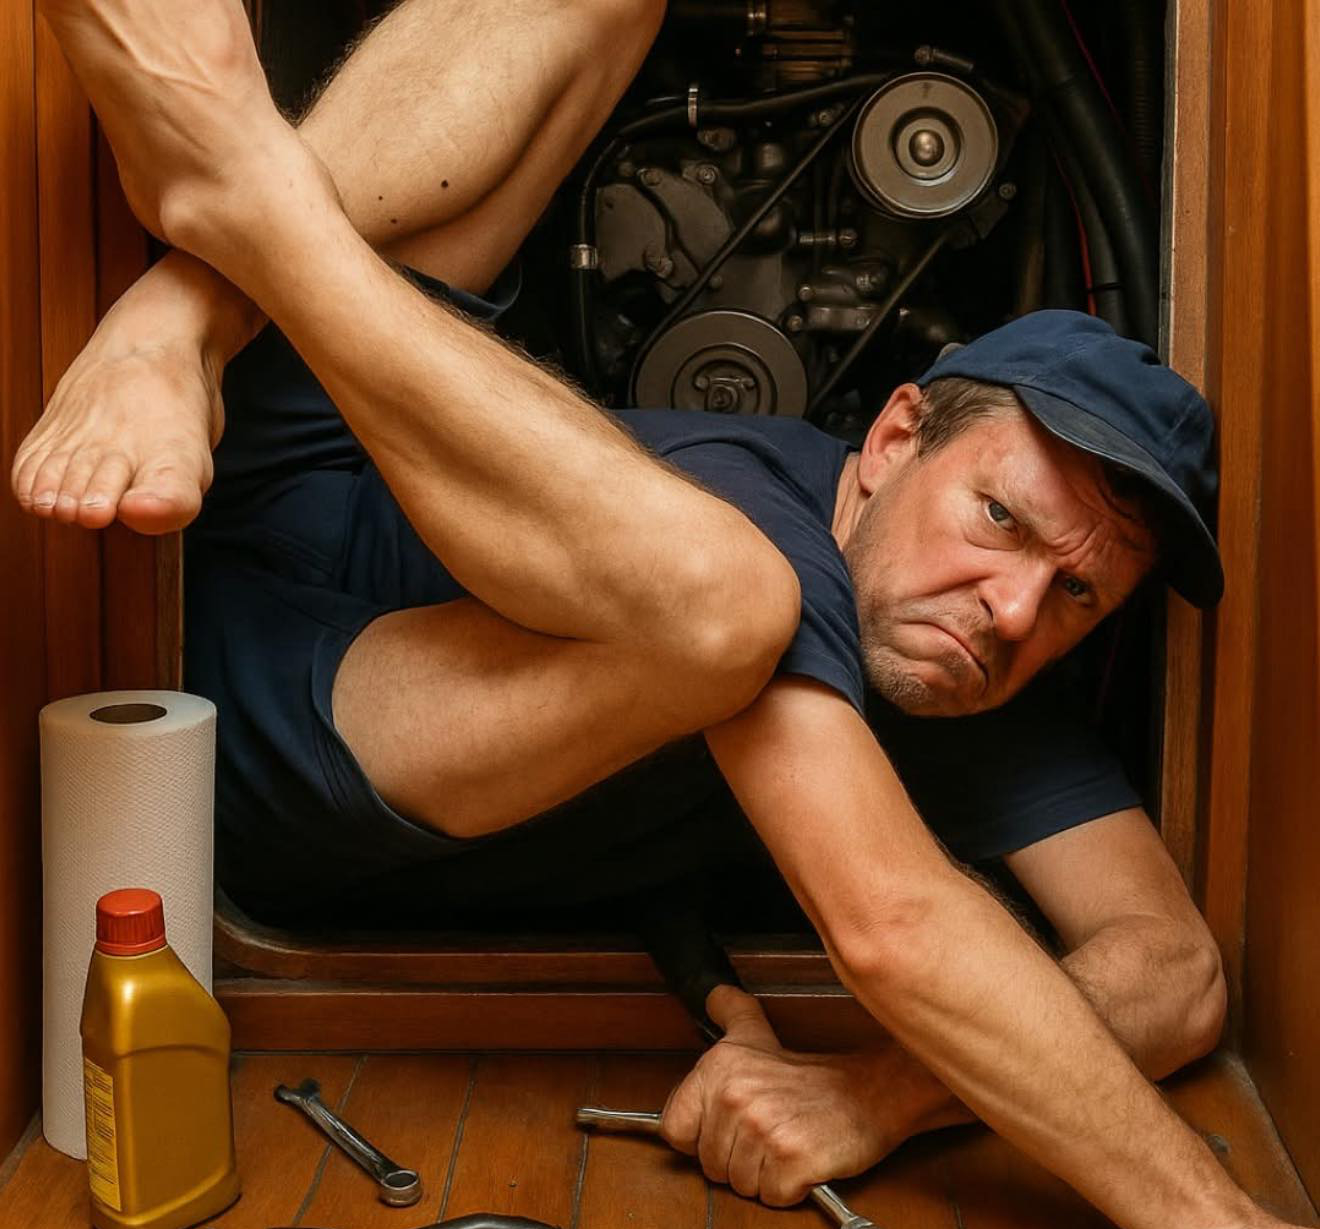
It does not take much in the way of equipment for this task: a good flashlight and maybe a headlamp, along with a screwdriver and nut driver to tighten any loose clamps you may find, is all you will normally need. It would be good to have a supply of spare hose clamps of different sizes handy to replace any bad clamps that may be found. You may also want to have a friend aboard or, at a minimum, a cell phone just in case you should become stuck somewhere. Do not underestimate this, as it has happened to me. All it takes is a snagged a piece of clothing to keep you prisoner of the bilge. Try to wear clothing that will not easily snag on equipment when crawling into tighter spots. Keep a knife with you as well, just in case, and if you get stuck, remember: do not panic, stay calm, and move slowly.
So, what do you look for once you have worked your way into the depths of your boat? Of course, you want to pay particular attention to any hoses connected to below-waterline fittings, but all hoses deserve careful inspection to avoid problems. Start with a simple visual inspection. Look for cracks and dry rot or anything else that does not look “right.” Pay particular attention to bends and turns in the hose, as these are areas that stress the hose material and often where you will find cracks as well as kinking. Cracks tend to occur on the outside of bends as the material is stretched. Kinks form on the inside of curves as the material is compressed. For hoses with wire reinforcement, look for signs of rust weeping through the outer jacket. Look for any signs of bulging or swelling, as this can be a sign of internal failure. Check for chafing near motors, equipment, and where the hose passes through a bulkhead or other structure.
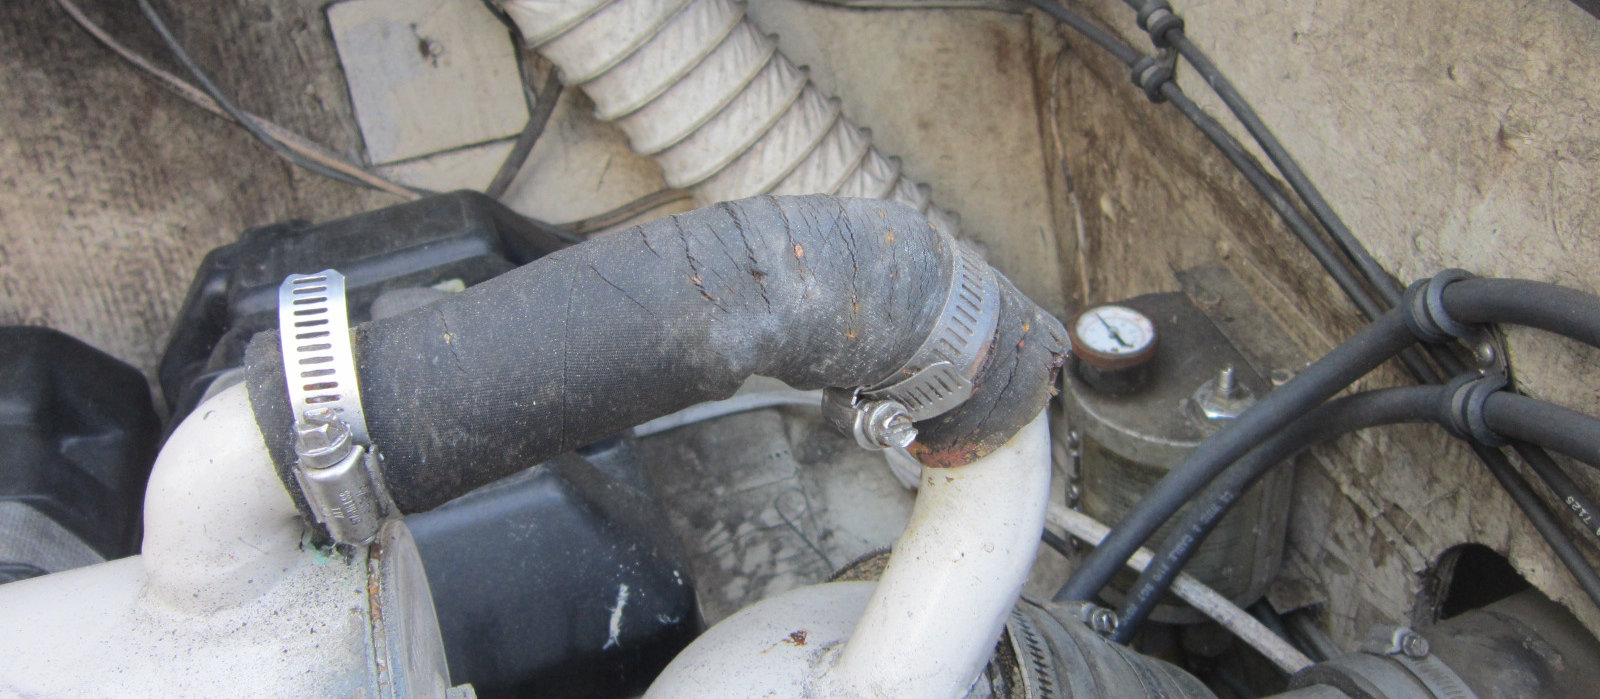
Problems are not always with the hose itself but can be with the hose clamps and fittings the hose is attached to. Carefully inspect the hose ends where the hose is attached to fittings. This is an area where a hose can be damaged by clamps or the fittings themselves. Hoses are sometimes damaged during installation, and this may not become apparent until the hose has some age on it. Look for signs of weeping from any fittings, both around the hose and any pipe fittings. Check the hose clamps for tightness and rust. Also make sure the hose is the right size for the fittings it is attached to. A hose forced onto a fitting that is too large or crushed down to a fitting that is too small is likely to fail sooner rather than later. This is also an area susceptible to corrosion, so check the fittings as well.
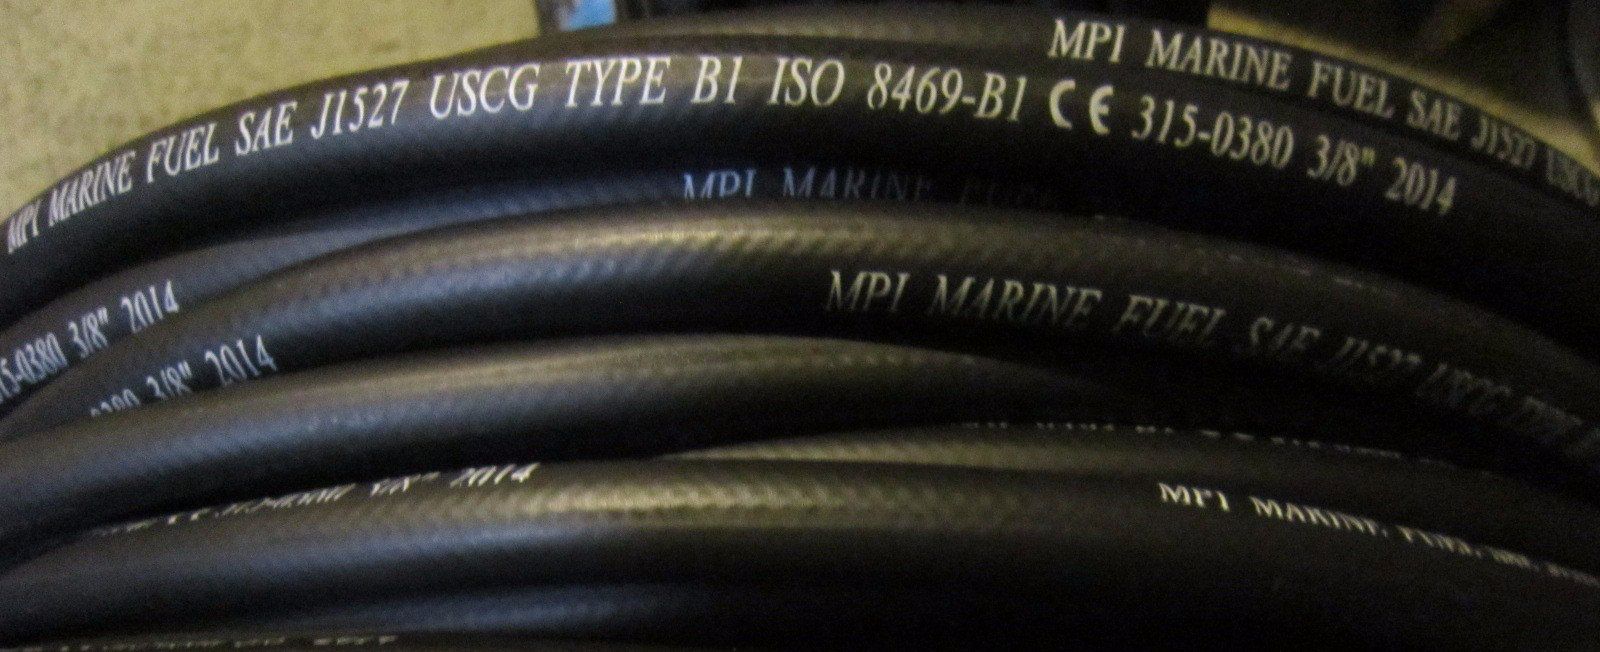
While checking the hoses, make sure the right hose is used for the right job. This is particularly true for fuel hoses. Fuel can damage a hose from the inside out, so it is important that the hose be rated for that use. Fuel hoses will be labeled on the outside for that use. Any hoses that carry hot fluids, both for domestic use and cooling on the motor, should be rated for high temperatures. Hoses under pressure should also be rated for the pressures they may experience. Waste hoses should likewise be designed for that function to prevent odor problems.
Hose clamps and hose fittings are equally important to the life and success of a hose and its ability to function without problems. Hose clamps can and do fail, causing everything from minor leaks to sinking. Clamps rust and break, and if not applied correctly, they can cause damage to the hose, resulting in failures and leaks. A good hose clamp is all stainless steel, including the adjusting screw, and is made with a solid strap, not one cut for screw threads. I see a lot of failed clamps during surveys, and almost all are broken in the middle where the metal is thinnest. Good clamps are not cheap, but they are well worth the extra cost for the peace of mind and longer life they provide. Make sure the clamps are snug but not so tight that they cut into the hose itself. After installation, hoses compress, causing the clamp to loosen a bit. A slight tightening is usually all that is needed to keep things working as they should. For more information, check out my video on hose clamps.
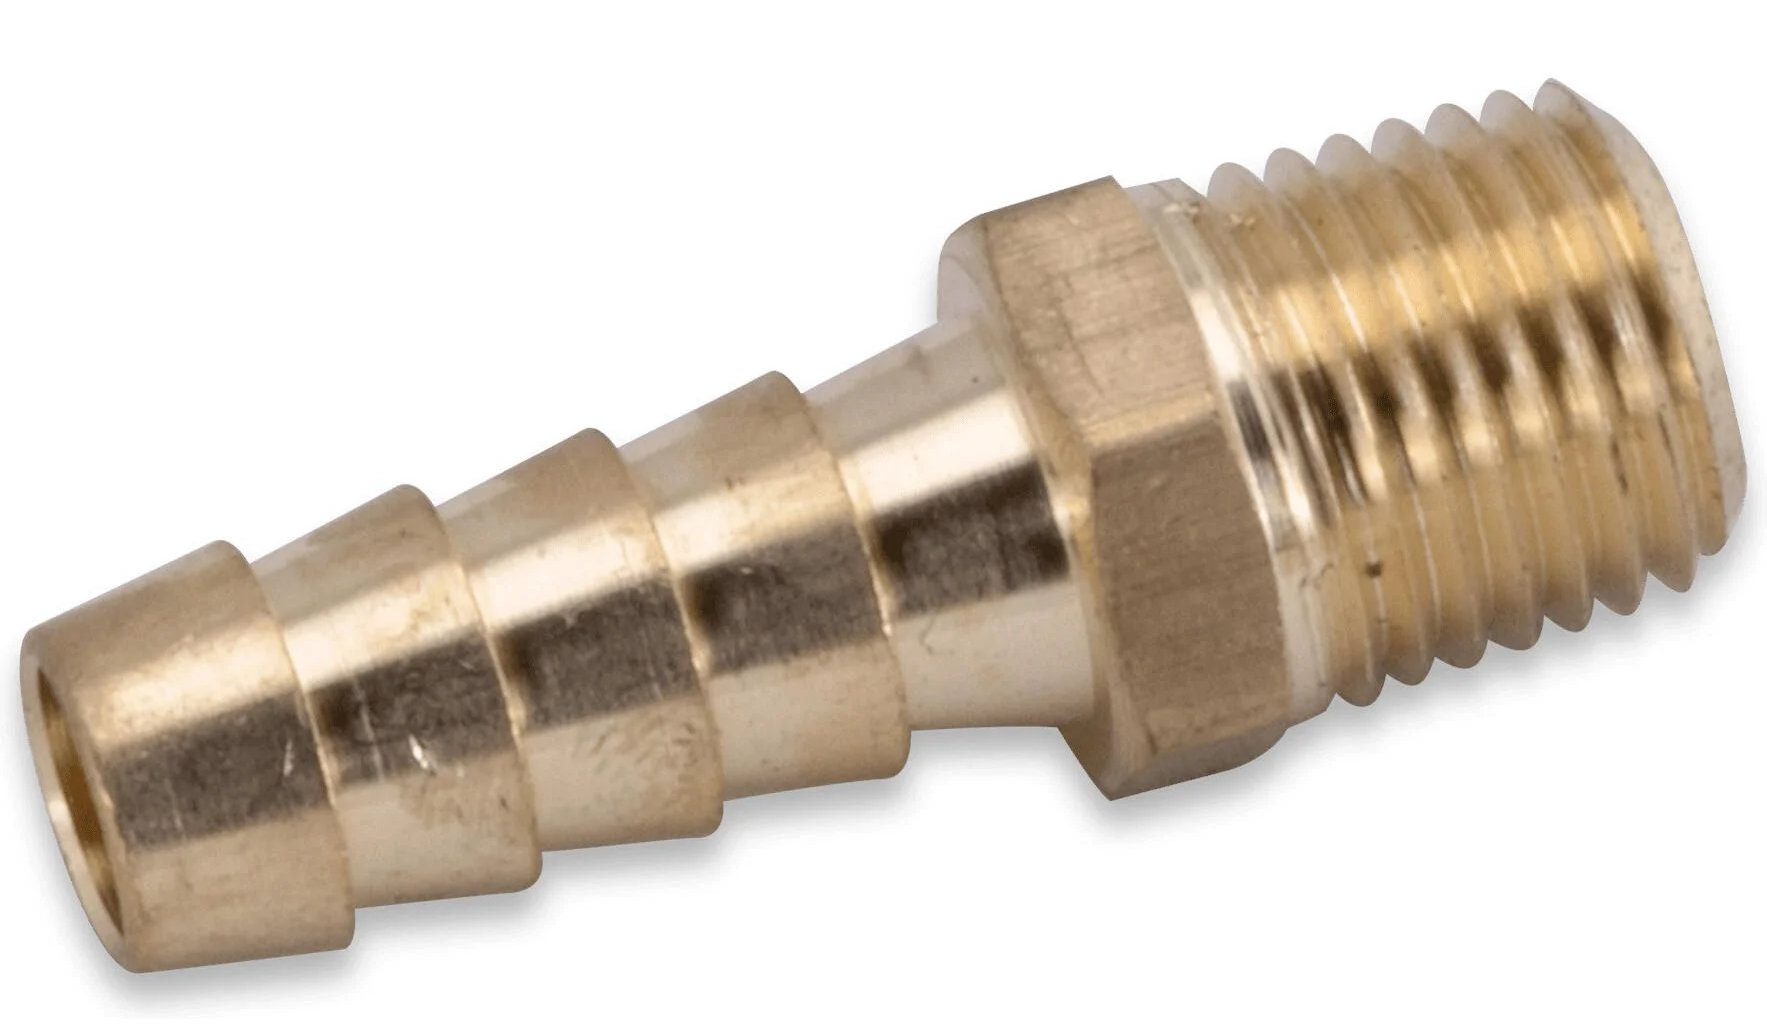
Using improper fittings will likewise result in problems, and this is a common issue with aftermarket installations. Hoses should be connected with properly sized barb fittings or fittings designed to be used with hose. The standard fitting is a barbed tail threaded to a pipe fitting to make the transition from hose to pipe. The barb should be properly sized to the hose and have sufficient length for the hose to seal tightly. You will get at least two clamps firmly over the barbed section. The hose should be pushed onto the barb so that it fully covers the barb with no exposed material left. The barb itself should be of the correct material, meaning never use brass below the waterline. A hose should never be attached to a threaded pipe fitting, as this can result in leaks as the fluid follows the threads. A hose should also not be fitted to a smooth pipe or copper tube, as it could slide off with surprisingly little force and leaks are likely. I see this a lot with fuel lines. If a hose needs to be connected to copper tubing, the tubing should be fitted with a flare or other transition to a barb.
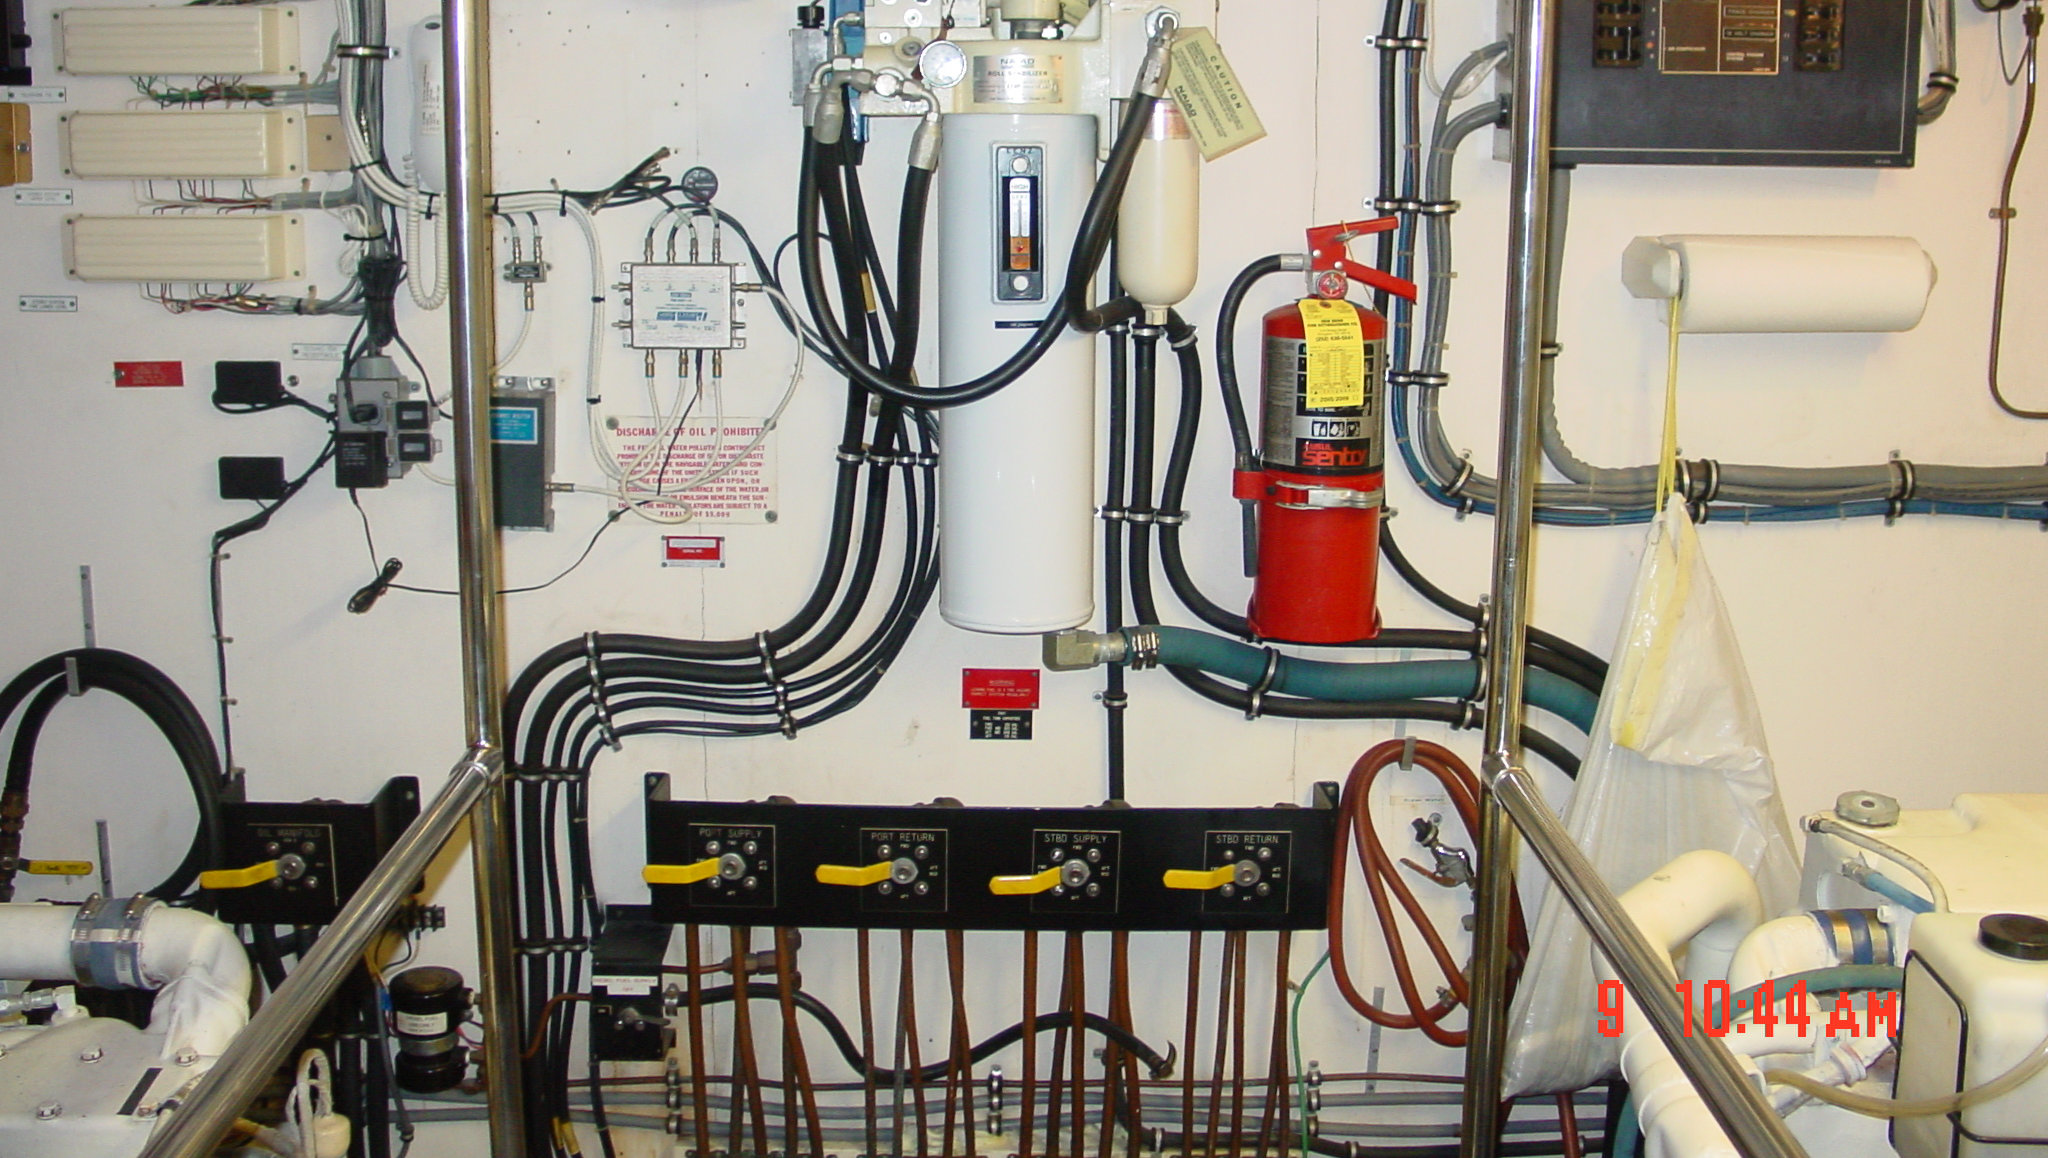
Hoses should be well supported and run clear of any wires or moving parts. Neatly run hoses are not only safer but easier to inspect and service. When securing hoses, use clamps or straps that will support the hose without damaging it. Metal straps should only be used if protected with rubber. For small hoses, wire ties can work well, but with larger hoses, clamps and hangers designed for supporting hoses should be used. Make sure no hoses are run over hot equipment, such as exhaust pipes. This is true for oil and fuel hoses, as leaks can cause fires if these fluids are exposed to hot surfaces. When running a hose, try to avoid sharp turns, as these stress the hose material and will shorten its life. Sharp turns can also create kinks in the hose; it may look fine during installation only to kink over a period of time. Make sure the hose is not in contact with any sharp edges or vibrating equipment as well.
Should you find any bad hoses that need replacing, do not just automatically replace the hose with the same type. Very often the wrong hose may have been used in the first place, or there may be a newer type that will work better for the application. For any below-waterline use, make sure the hose is recommended for that use. As mentioned earlier, fuel lines must be rated for use with fuel. This includes any fuel-fill hoses as well as supply lines. Fuel hoses should have a USCG-approved marking on the cover. Make sure any hose used for suction, such as intake hoses, are reinforced with either wire or hard plastic to prevent collapsing. Sanitation hoses should be rated for waste to help reduce odors; there are several new hoses designed for this, so a little research would be worth the effort. Any hose used for potable water should also be rated for this use.
Removing and installing hoses is not always the easiest job on a boat, but there are a few tips and tricks that can help make the job easier. Before trying to remove a hose, first remove the clamps and then try to rotate the hose on the fitting to break loose any bond it has to the fitting. I have always found the best tool to have is a heat gun to warm the hose before removing or installing it. Take your time and allow the heat to fully penetrate the hose material to soften it. For hoses that are very stiff or just do not want to let go you can try prying it off the fitting with a screwdriver or hose removal tool from an auto parts store. Shoot a bit of WD-40 or other penetrating lubricate between the hose and its fitting. Work it up and down while pulling it off the fitting. It also helps to wear work gloves to avoid war wounds, as this can sometimes be a battle. When installing a new hose once again, some heat applied to the hose end along with a bit of liquid dish soap will make life easier. Do not use petroleum lubricates with a new hose as it can damage some hoses.
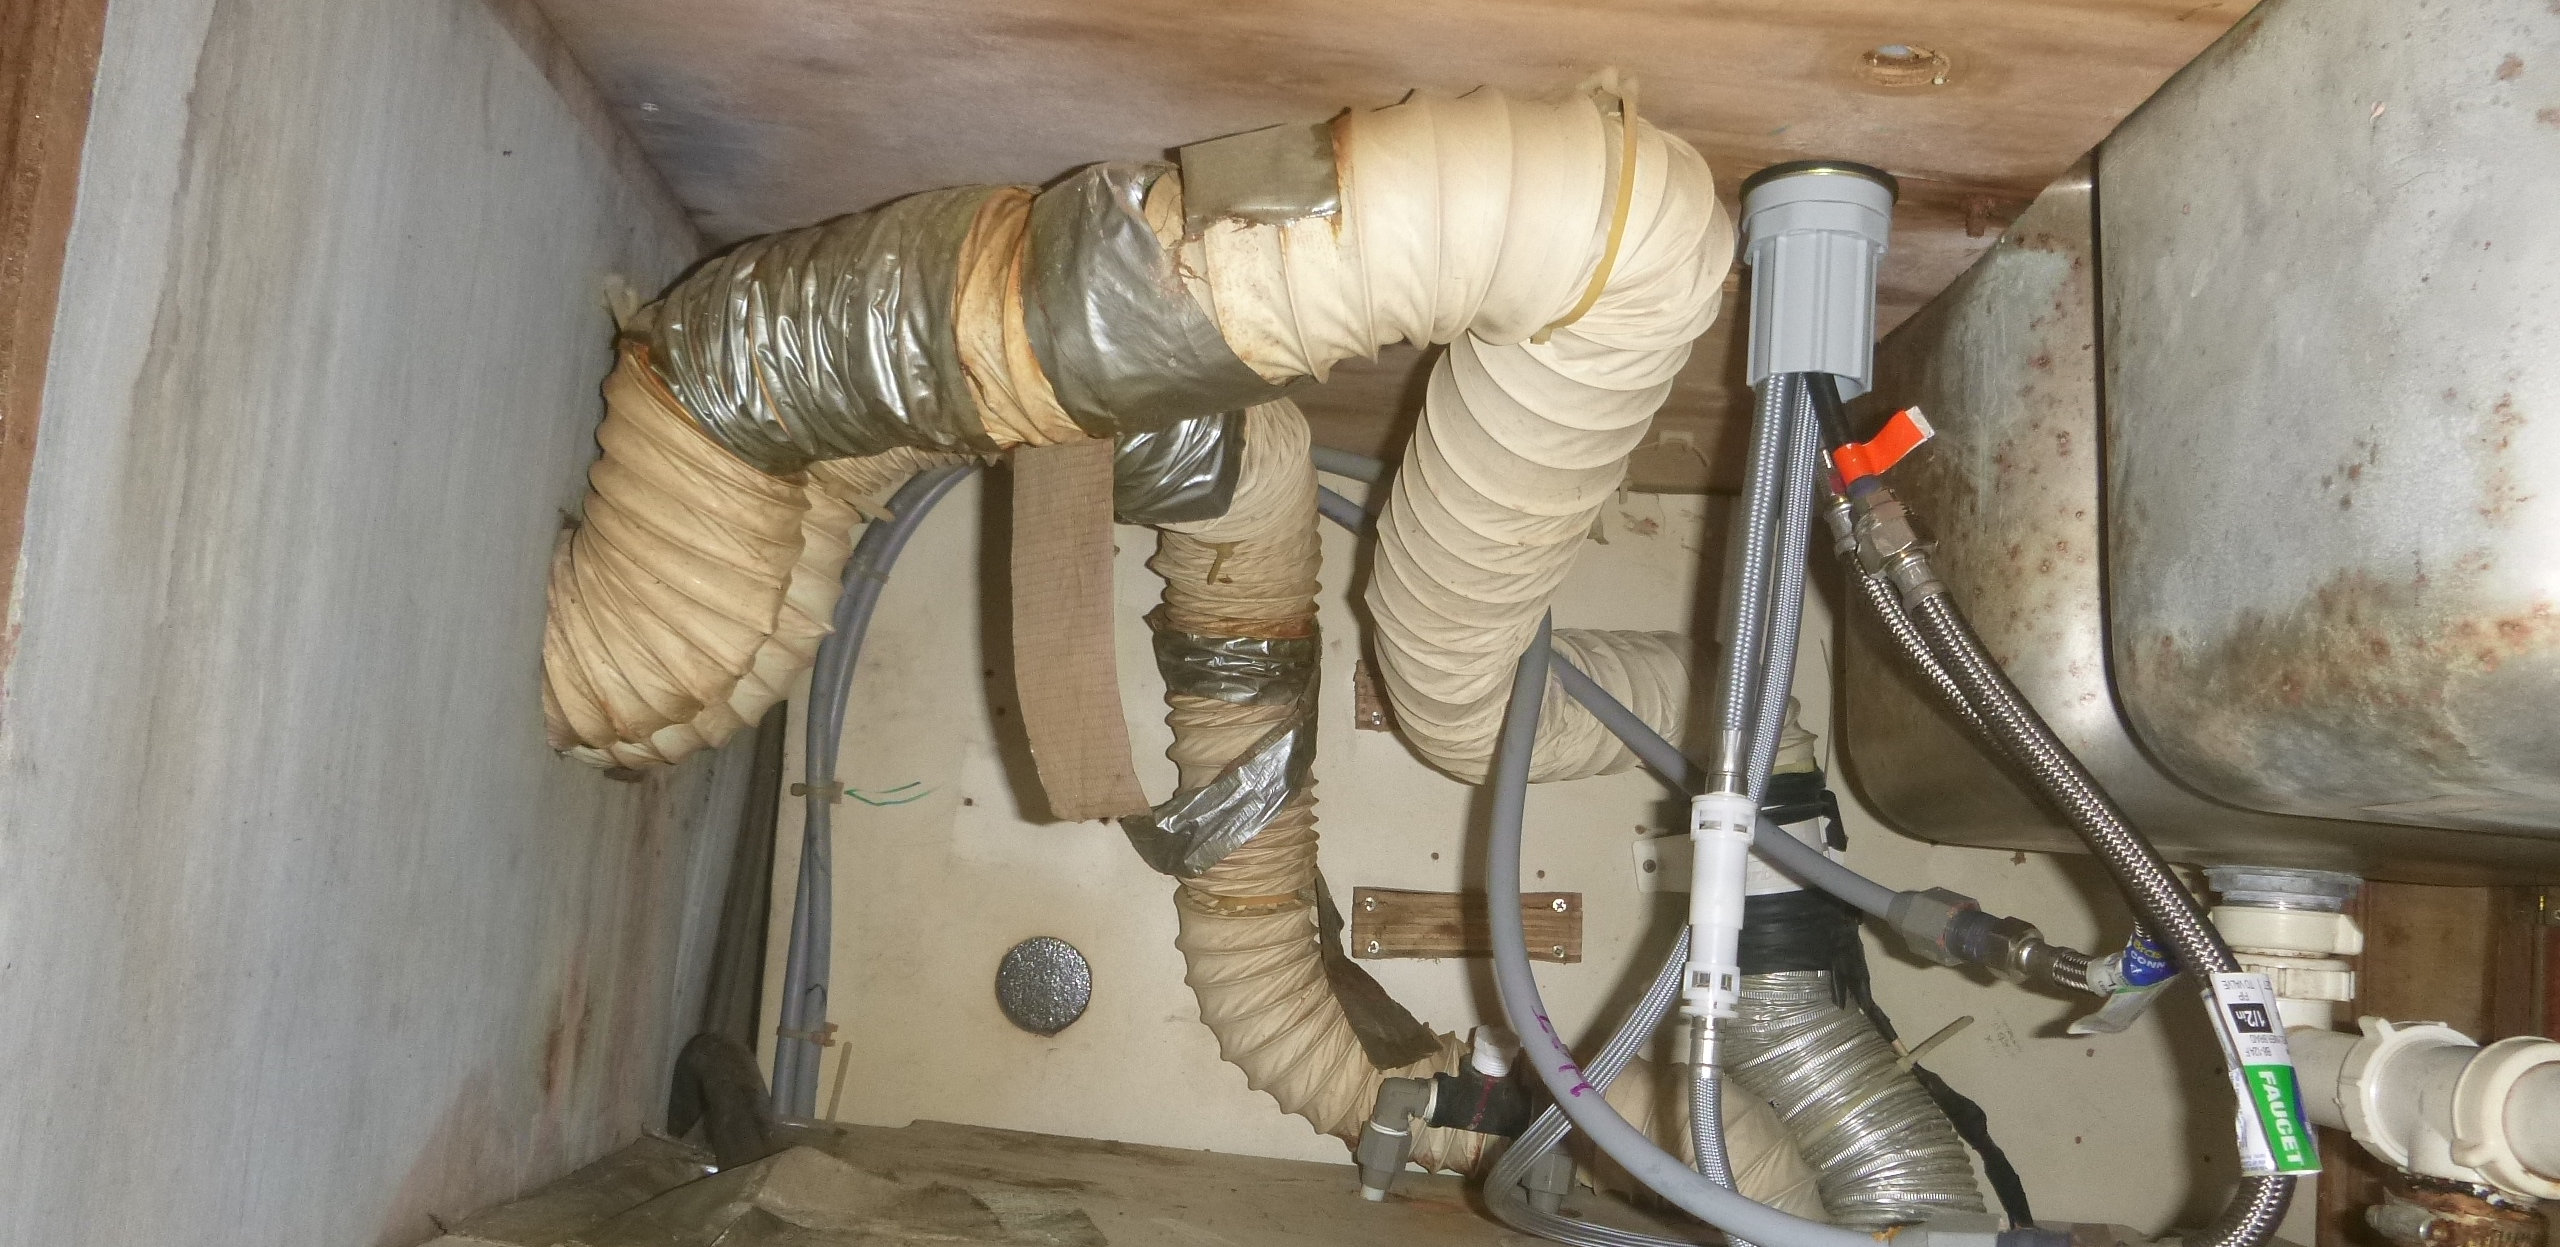
While checking the boat’s fluid hoses, do not forget about air hoses as well. Bilge blower and air conditioning hoses should be checked as well. Air hoses are made with thinner material and can be damaged easily. Make sure there are no dips or loops that could fill with water from outside or condensation and block airflow. Small leaks can add up in air conditioner hoses, reducing your unit’s efficiency, so repair any found with, you guessed it, duct tape.
Hose failure is probably the most common reason for sinking both at sea and at dock, and let’s not even get into the misery should a waste hose fail. Although it may not be the easiest task on your boat, it may be one of the more important ones and often a very overlooked maintenance task. It is worthwhile to know all your hoses are in good condition, and it may just save your boat from serious problems. Most failures on a boat occur because of problems occurring slowly until there is an ultimate failure. A couple of hours spent inspecting your hoses can prevent ultimate failures and resulting carnage.