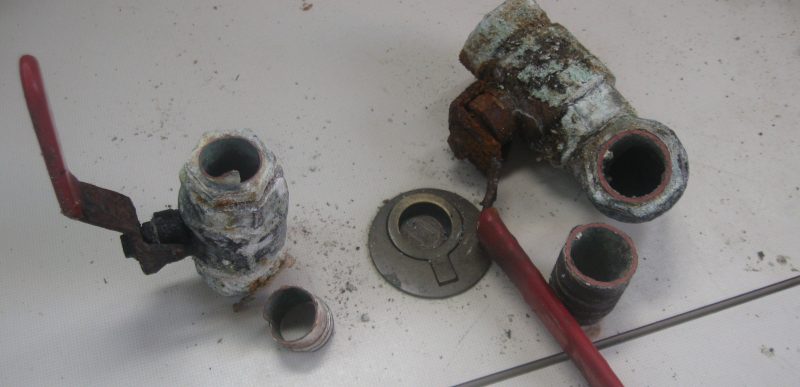

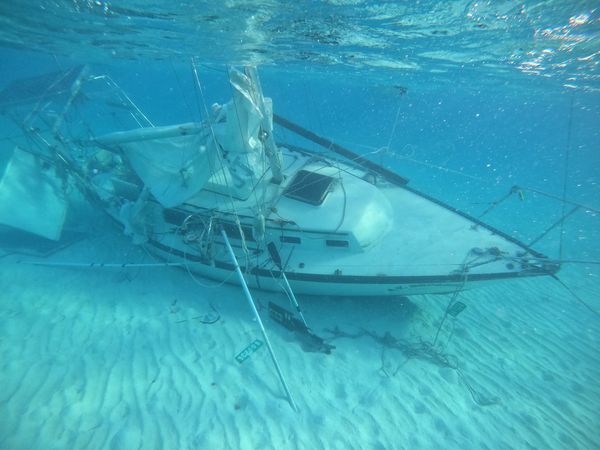
According to BoatUS, 50% of all boats sink as the result of failed underwater fittings. Given this fact, it is surprising how little care many boat owners give to these important fittings. As a surveyor, it is part of my job to inspect a vessels thru hull, seacock, and associated fittings and hoses during my surveys. I am often surprised at just what I find. Old, dry-rotted hoses on corroded fittings attached to frozen seacock are more common than those in good condition. Very often I find seacock stuck in the open position and more than once I have had a handle come off in my hand with little effort.
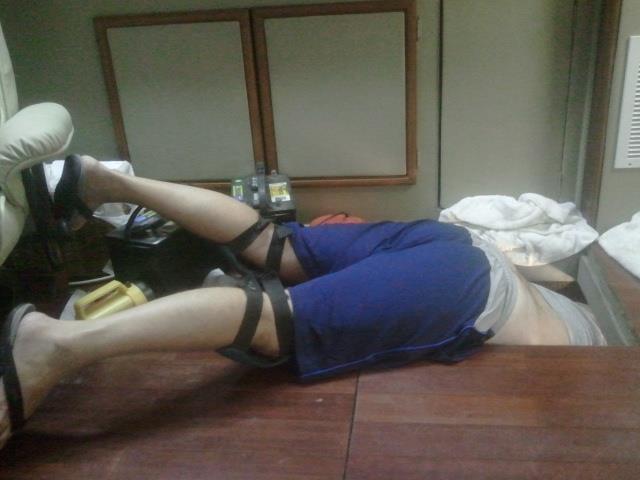
Although nobody enjoys crawling around in bilges, this is one chore that, if put off, could literally put you in deep water. Although it is not a pleasant job, it is important to make sure all your underwater gear is in good condition. I suggest that at least twice a year all underwater fittings and hoses be inspected and tested for proper operation. This will also help you become familiar with the location of all these critical fittings. If any fittings are hard or impossible to reach, it may be time to think about relocating them to a more accessible location or providing better access with inspection panels.
When checking your underwater plumbing, start by making sure the seacock valves work easily with normal hand pressure. For larger valves, it may help to have an extension for the handle, but care needs to be used so that you do not force the handle too hard, or damage may occur. All valves should move back and forth smoothly without undue pressure. Make sure all valves are fitted with handles and that there is nothing obstruction the full swing of the handle. If your vessel is electrically bonded, check that the bonding wires are intact and that the connections are not corroded. If a backing block is fitted, check the general condition of this as well. Wood blocks tend to get soft with age and cause the thru-hull to become loose.
Next, check all the fittings connected to the seacock for corrosion. I have found that more often than not when a failure occurs; it happens at the fittings attached to the valves and not with the valve itself. Hose barbs, pipe nipples, and elbows are often made of brass and can become weak. These fittings are often subject to corrosion from both inside the fitting and from weeping leaks at the connections outside the fitting. It is often in the threads of these fittings that the most corrosion occurs and where the metal is thinnest. The hose can also trap moisture on or near these threads, adding to the problem. Pay close attention to any plastic fittings as well, as these can become brittle and crack from age or excessive side pressure from a hose.
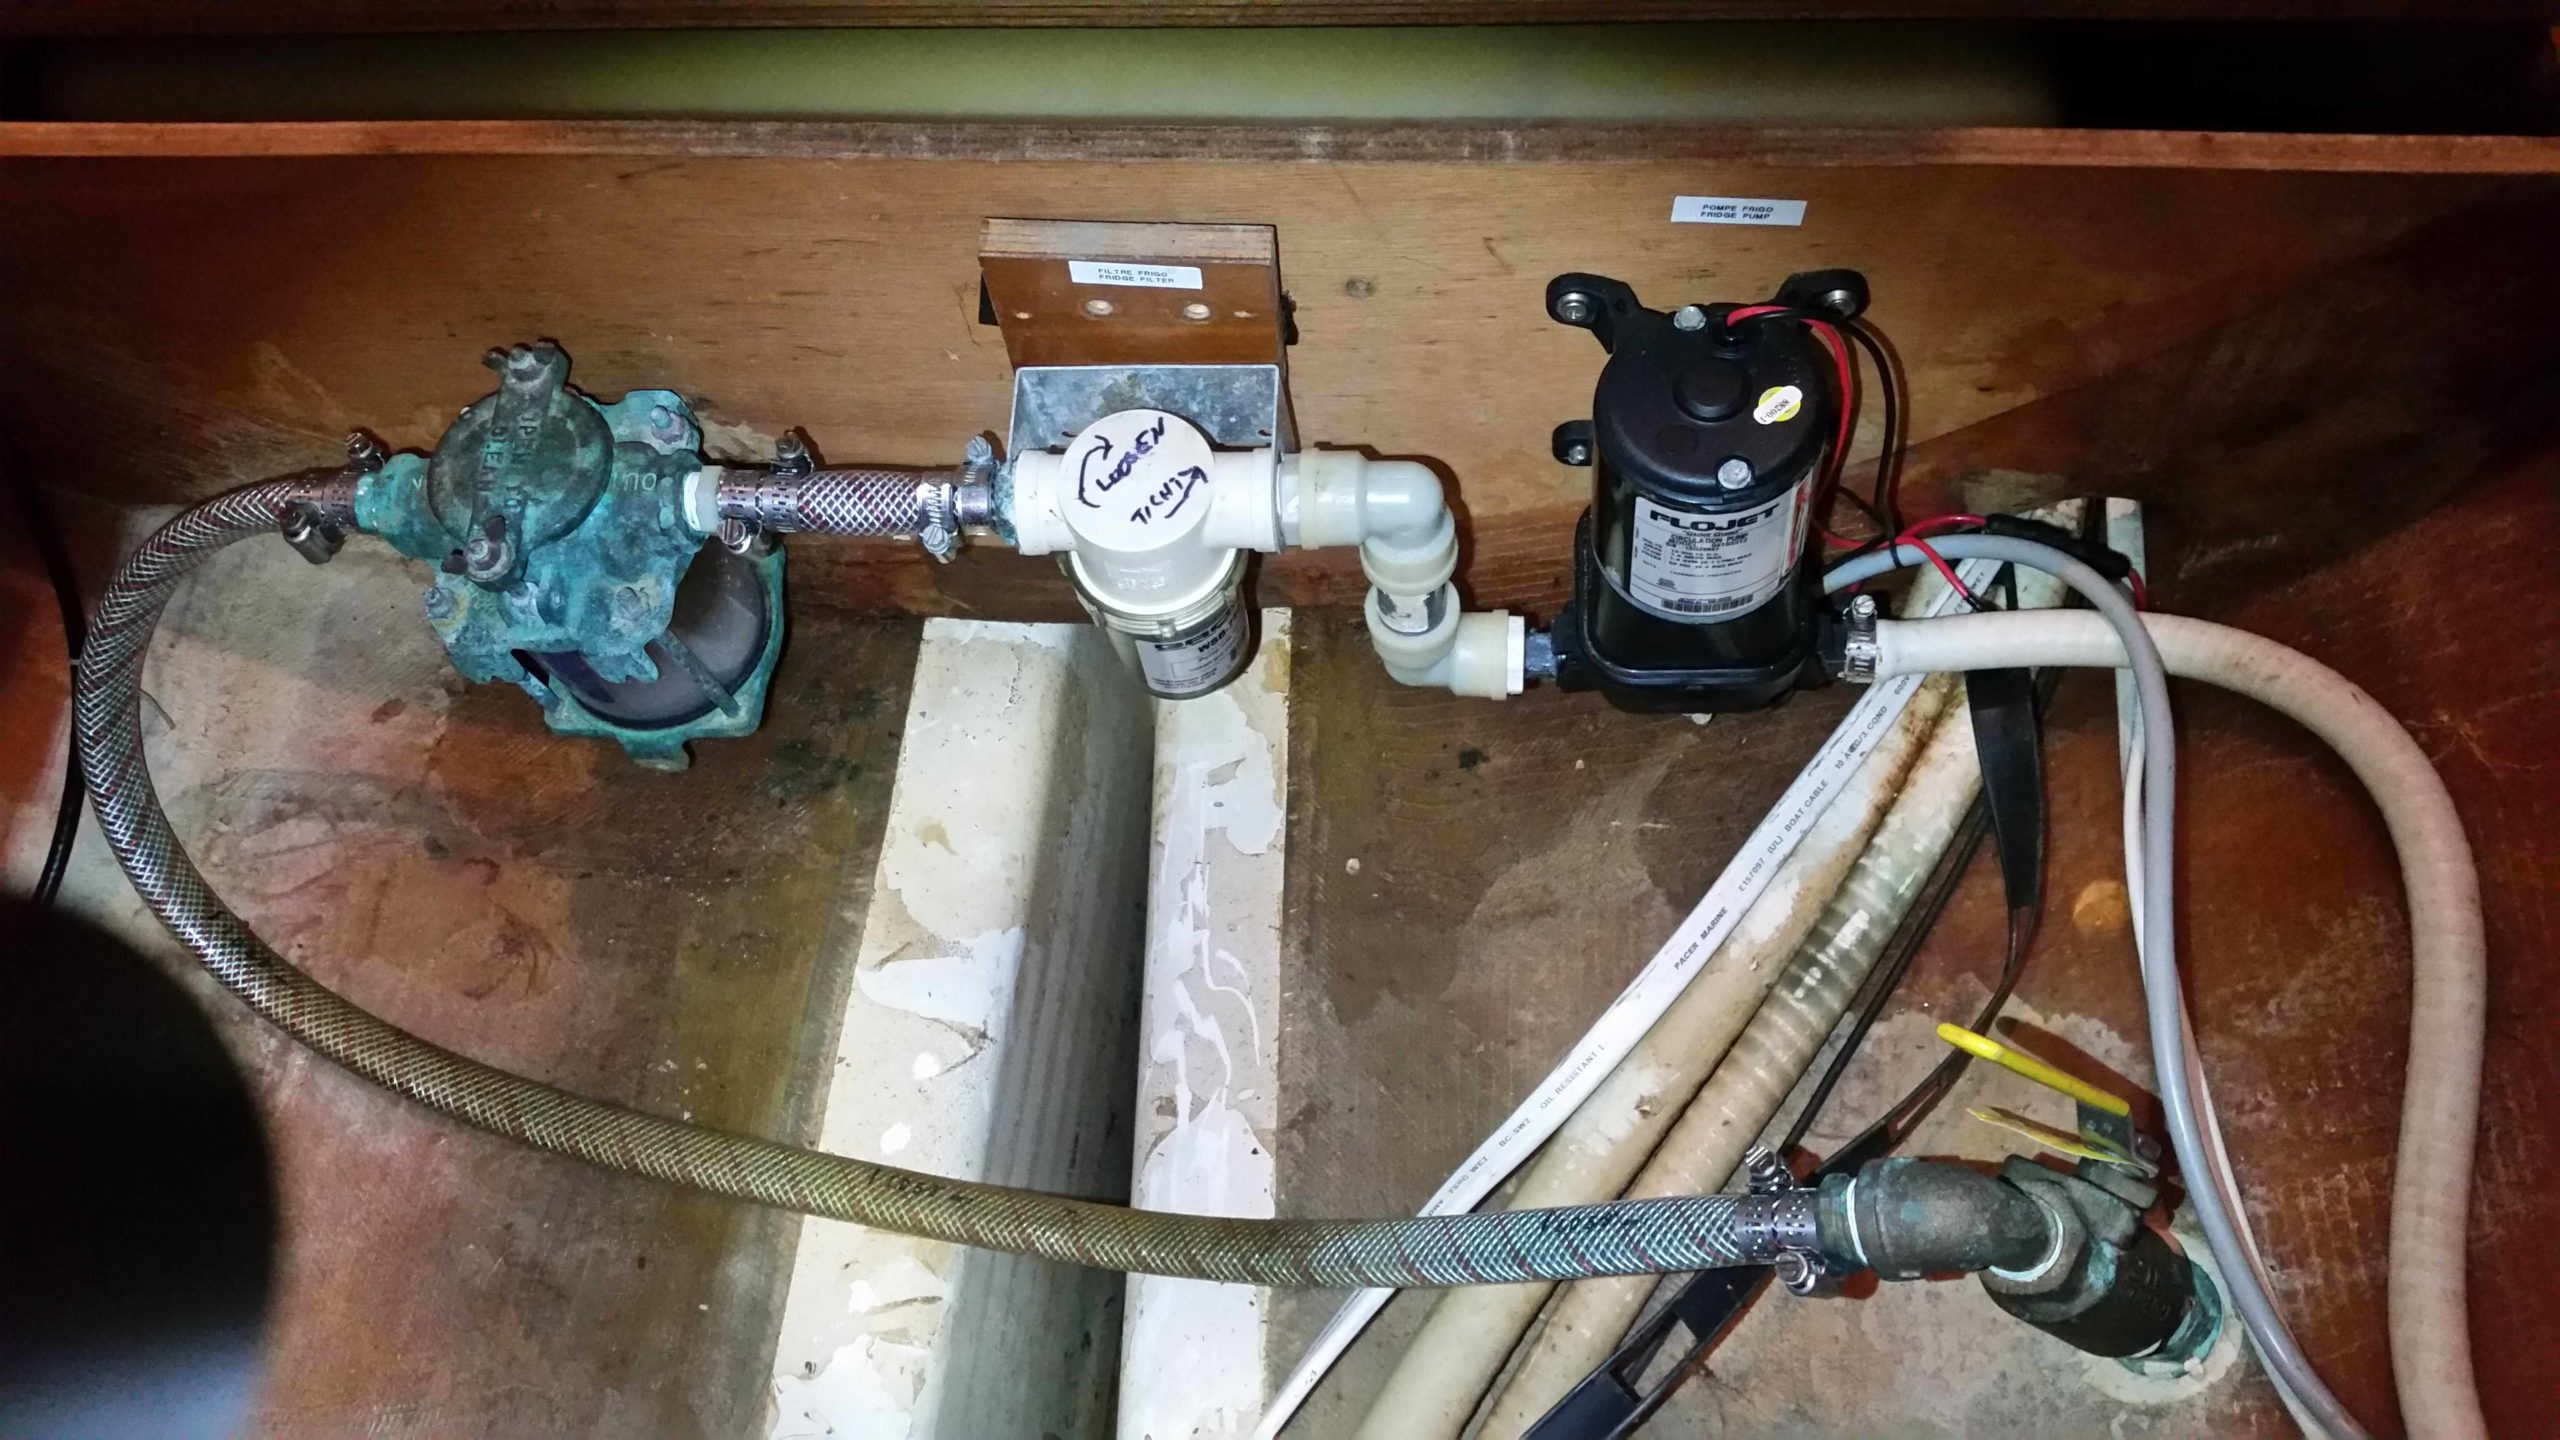
Check any hoses connected to below the waterline fittings for signs of cracking and dry rot. Surprisingly, I am seeing more and more hoses just a few years old cracking and sometimes leaking. Follow the hose to its ends and inspect any fittings and connections at both ends as well. Make sure all the hose clamps are tight and rust-free. The hose material can compress with age, causing the clamps to become loose. The common slotted type clamp used on many boats is subject to cracking and breaking. This can sometimes be hard to spot visually, so a quick turn on the adjusting screw is the best way to check hose clamps.
While inspecting your underwater fittings, do not forget to give the engine’s raw water fittings a once-over as well. Most raw water hoses and fittings on the engine are not only subject to normal corrosion but have the added disadvantage of vibration and highwater temperatures, further adding to corrosion problems. This would include exhaust fittings and hoses as well. All these are subject to high temperatures and added pressure. This can cause a fitting that looks just fine with the engine off to suddenly let go when underway. As with all fittings, check hoses for cracking or other damage, paying particular attention to any areas where the hose could chafe from vibration. Check the hose with the engine running at speed as well and note any hoses that look like they are bulging or swelling, as this is a sign of possible future failure. If in doubt, replace. Do not forget to check the stuffing box or shaft seal hose and clamps as well, as these are often ignored.
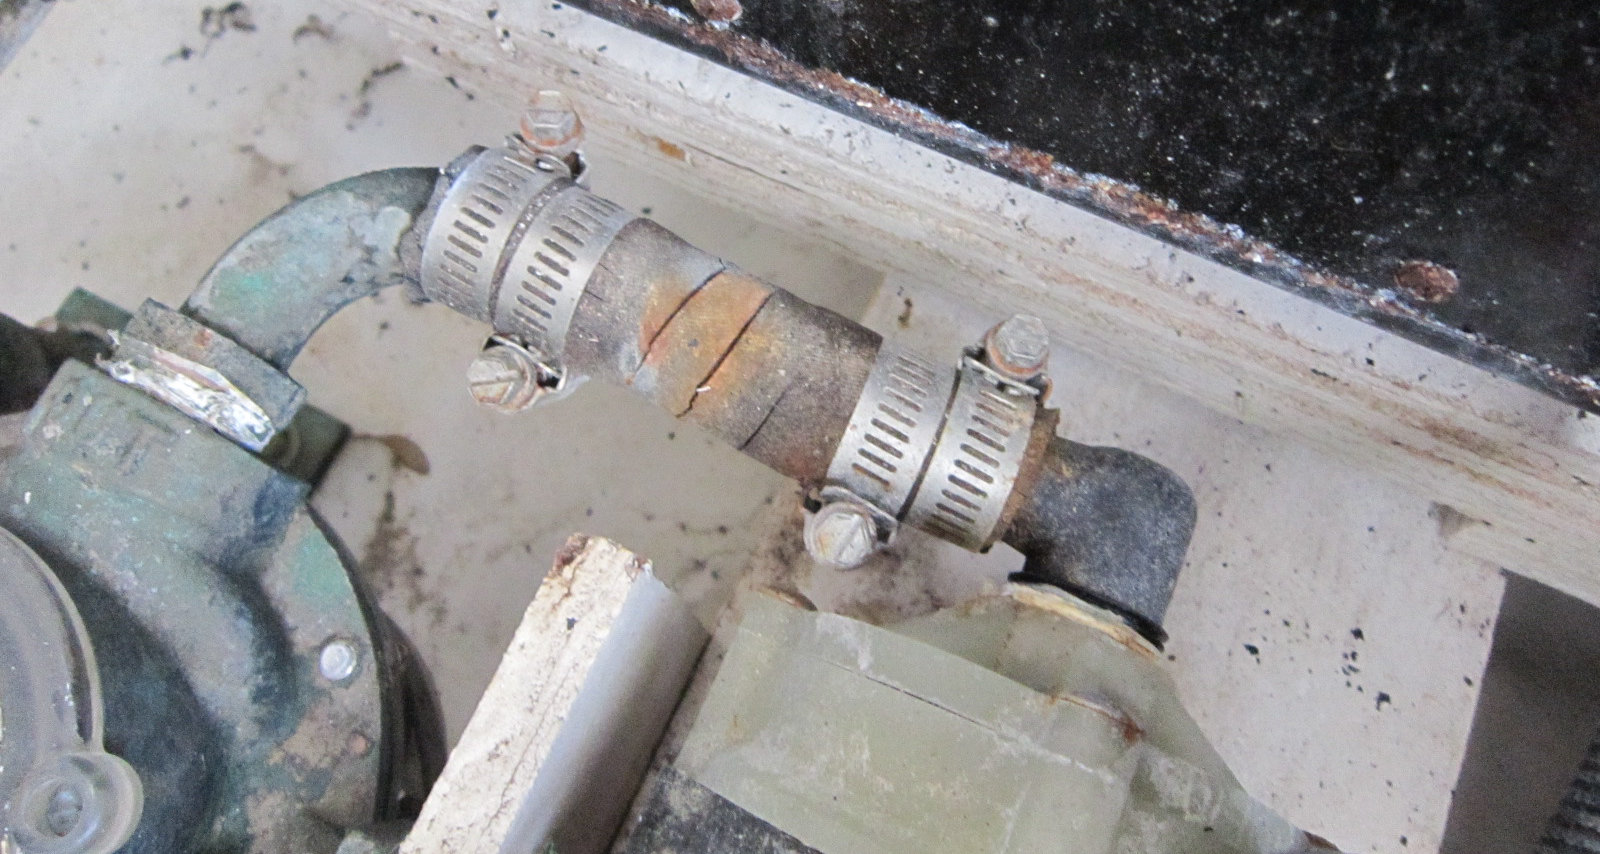
If your vessel is equipped with air conditioning, special attention should be paid to these fittings and hoses. When an air conditioner pump is operating, it can move a large amount of water. A failure on one of these fittings can quickly overwhelm a bilge pump. Often the pump fittings are plastic, with more than one hose connected with a Tee fitting. This can place side loads on the fittings, causing cracking and eventual failure.
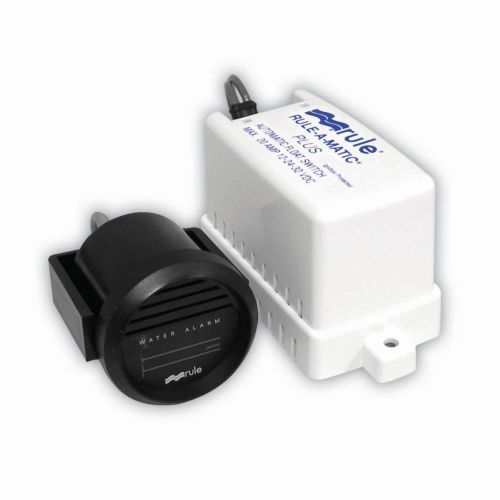
High water alarms are great for knowing about leaks early, and I strongly recommend all boats be fitted with these simple devices. These alarms are basically a high-water switch mounted a few inches above the normal bilge level with a buzzer or siren mounted at or near the helm. When operating the boat, this will let the operator know quickly when there is a problem, and while at the slip will alert the dock master that there is a problem.
Most thru-hull leaks are avoidable with a bit of preventative maintenance and due diligence. Spending some time crawling through your bilges a couple of times a year inspecting your boat’s underwater fittings can help keep you from becoming yet another insurance statistic.